
Cult Beauty is an online beauty retailer that curates a selection of quality, in-demand beauty and skincare products. The brand was founded by Jessica DeLuca and Alexia Inge.
Founders: Jessica DeLuca and Alexia Inge
Founded: Cult Beauty was founded in 2008.
Story:
Cult Beauty was founded with the intention of providing beauty enthusiasts with a platform to discover and access a curated range of beauty and skincare products. Founders Jessica DeLuca and Alexia Inge recognized the need for a space that not only offers well-known beauty brands, but also highlights niche, innovative and cult-favorite products that may not be widely available.
The platform aimed to bridge the gap between beauty enthusiasts and exceptional products by showcasing items that had found a loyal following in the beauty community. This approach resonated with consumers who value quality over quantity and were interested in trying products with a good reputation.
Cult Beauty’s success stems from its commitment to transparency, authenticity and community engagement. The brand maintained a strong online community where customers could share reviews, recommendations and insights about products. This sense of community added to the brand’s appeal and made it a go-to destination for beauty enthusiasts looking for genuine and trusted recommendations.
Cult Beauty’s focus on crafting a product selection that resonates with beauty lovers and commitment to providing a seamless online shopping experience sets the company apart in the highly competitive beauty market. The brand’s name itself, “Cult Beauty,” reflects its focus on products that have achieved cult status in the beauty community.
overview
Founders: Cult Beauty was founded by Jessica DeLuca and Alexia Inge.
Established: The brand was established in 2008.
Concept: Cult Beauty is an online beauty retailer offering a curated selection of high-quality and in-demand beauty and skincare products.
Mission: The brand’s goal is to connect beauty enthusiasts with innovative niche products and popular iconic products that may not be widely available.
Transparency: Cult Beauty values transparency, authenticity and community engagement in its approach to beauty.
Online Community: The platform fosters a strong online community where customers can share product reviews, recommendations and insights.
Reputation: Cult Beauty is known for its commitment to providing genuine and trusted recommendations in the beauty industry.
highlight
Founders: Cult Beauty was co-founded by Jessica DeLuca and Alexia Inge.
Founded: Founded in 2008, the brand is a pioneer in curating a range of in-demand beauty and skincare products.
Curated Selection: Cult Beauty focuses on offering innovative and popular niche products that may not be widely available.
Community Engagement: The brand fosters an engaged online community where customers share authentic reviews, recommendations and insights.
Authenticity: Cult Beauty’s commitment to transparency and genuine recommendations sets the company apart in the beauty industry.
Trusted Destination: The brand is known for its reputation as a trusted source for discovering premium beauty and skincare treasures.
Online Platform: Cult Beauty’s seamless online shopping experience caters to beauty enthusiasts looking for quality products.
Skin care:
Detergents (gel, cream, oil)
serums and facial oils
Moisturizers (day and night creams)
Face masks (sheet masks, clay masks)
Sun protection and sun protection
peelings and chemical peels
eye creams and treatments
Form:
Lipsticks, lip gloss and lip balm
foundations and BB creams
eyeliner and mascara
Eye shadows and eye shadow palettes
Blushes and bronzers
highlighters and contouring products
hair care:

shampoos and conditioners
Hair treatments (serums, masks, oils)
Styling products (hairsprays, texturizing products)
Advantages
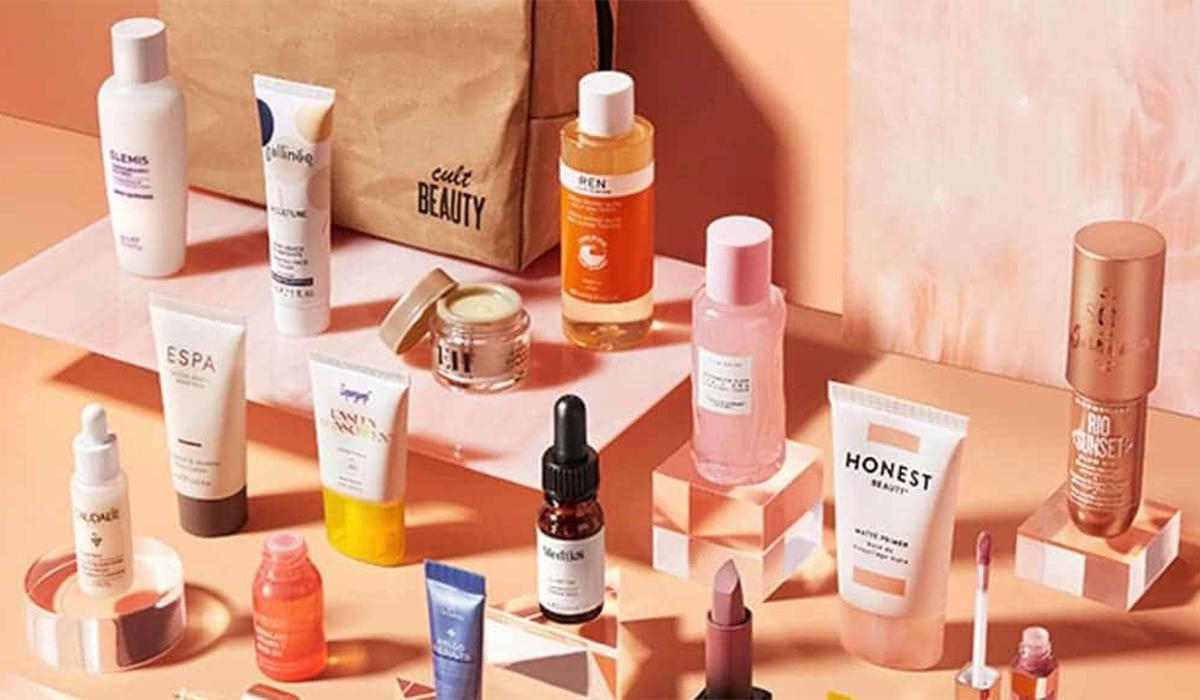
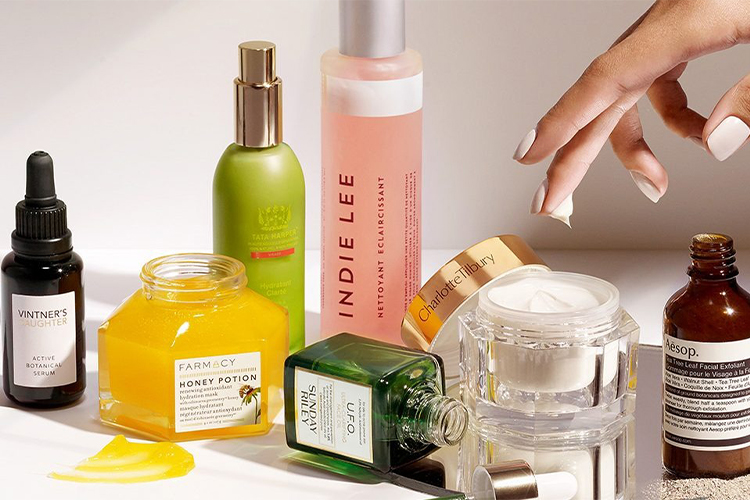
Curated Selection: Cult Beauty offers a curated selection of premium beauty and skincare products, making it easier to discover quality items.
Niche and Cult Favorites: The platform focuses on niche, innovative and cult favorite products that may not be widely available elsewhere.
Transparency and authenticity: Cult Beauty values transparency and authenticity and promotes customer trust.
Community Engagement: The online community allows customers to share reviews, recommendations, and insights to help others make informed decisions.
Premium brands: The platform offers products from well-known and luxurious beauty brands, thus ensuring a high standard of quality.
Convenient Online Shopping: Cult Beauty’s user-friendly website offers beauty enthusiasts a seamless shopping experience.
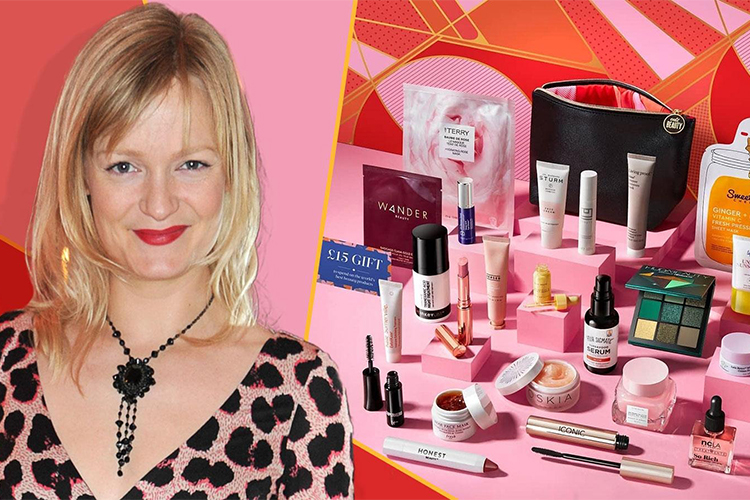
Exclusive Products and Offers: Customers may have access to exclusive products and offers not found elsewhere.
Disadvantages
Higher Price: Premium beauty products often come with a higher price tag that may not be affordable for everyone.
Limited Availability: Some niche and iconic products may have limited availability, potentially leading to disappointment when out of stock.
Product Suitability: As products are curated, there is a chance that not all products will suit each individual’s individual preferences or skin type.
Shipping and Customs: International customers can expect longer shipping times and possible customs fees depending on their location.
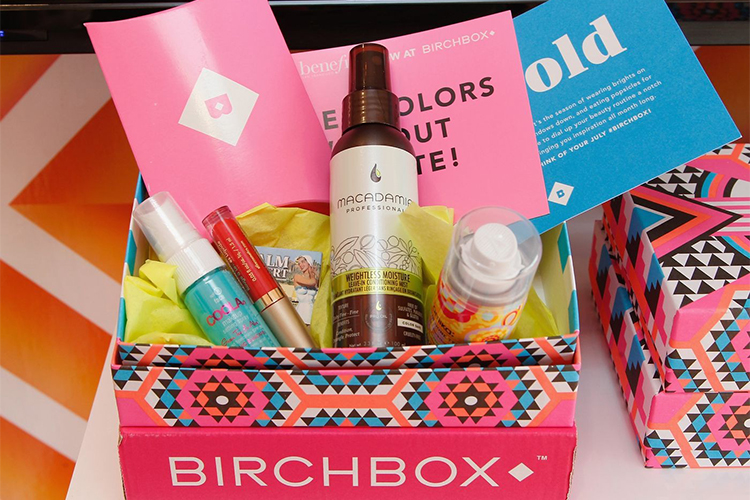
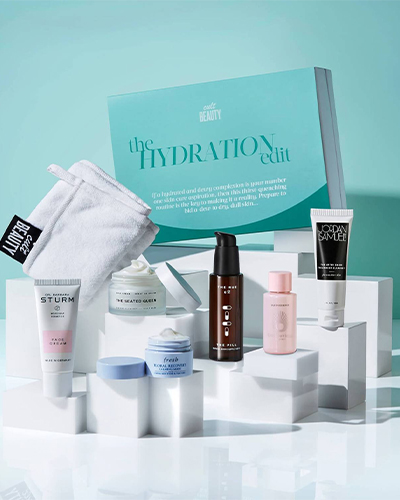
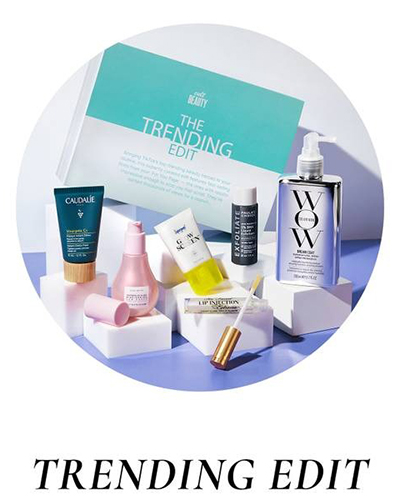
Subscription Model: Cult Beauty also offers a subscription service called “Cult Beauty Box” which may not suit all tastes or budgets.
Product Variety: While Cult Beauty offers a curated selection, some customers may prefer a wider range of product options.
In summary, Cult Beauty is an online offering aimed at beauty enthusiasts looking for a curated selection of premium beauty and skincare products. With a focus on niche, innovative and iconic items, the platform offers a unique shopping experience that emphasizes authenticity, community engagement and transparency.
The perks of shopping at Cult Beauty include the convenience of a curated selection, the opportunity to discover unique and quality products, and the sense of community fostered by customer reviews and recommendations. The platform’s commitment to transparency and authenticity boosts its credibility, making it a trusted resource for beauty enthusiasts.
However, potential downsides include the higher price of premium beauty products, the limited availability of certain items, and the need to consider individual product suitability. International customers may also need to consider shipping times and customs fees. The subscription model and curated nature of product selection may not suit everyone’s preferences.