
Top 15 Tips To Take Care Of Dry Skin (DIY Methods)
Dried, scratchy and dull looking cracked skin needs special attention and care. Whether it’s winter or summer, whether it’s humid or dry, moisturizing alone may not be enough to maintain skin hydration. But don’t panic; We have put together some tips for dry skin here. In addition, a few simple techniques to increase your skin’s moisture-binding ability will help you achieve softer, more supple, and more radiant skin. Read on to learn about the 15 best techniques and home remedies to treat dry skin. Keep scrolling.
1. Use warm water
When showering or washing our face, we rarely pay attention to the water temperature. However, water temperature plays an important role in keeping your skin hydrated. Use lukewarm water instead of hot water for bathing and washing your face. Lukewarm water prevents your skin from drying out further.
2. Use a fragrance-free detergent
Scented cleaning products contain harsh chemicals that can cause skin irritation. Use a gentle, fragrance-free cleanser on your body and face. Such a product preserves the natural moisture of the skin.
3. Use coconut oil
Coconut oil is high in fatty acids (1). It helps to moisturize the skin and lock in moisture in the skin. It also softens and smoothes the skin. Apply coconut oil right after you shower or before bed.
4. Use an oatmeal moisturizer
If you have dry, itchy, and sensitive skin, switch to an oatmeal moisturizer. Oatmeal moisturizers help calm and soothe irritated and inflamed skin (2). They also help protect the skin from UV rays and reduce redness.
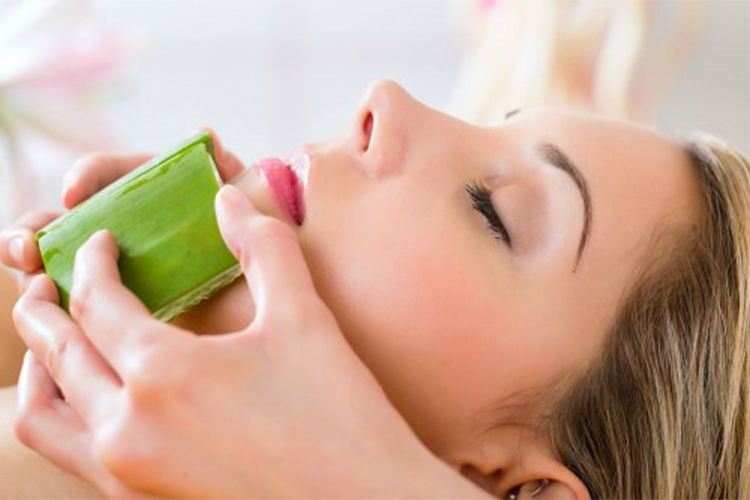
5. Use aloe vera gel
Aloe Vera has anti-inflammatory properties and helps moisturize the skin. Applying aloe vera gel to your face after toning will help soothe and nourish your dehydrated skin and dead skin. Massage the aloe vera gel in circular motions for 5 minutes. Wait 10 minutes before applying any moisturizer. Gloves and socks enriched with aloe vera also help improve skin integrity and reduce dryness (3), (4), (5).
6. Apply the avocado mask
Avocados are high in vitamin E, a powerful antioxidant and skin moisturizer (6), (7). Also, using an avocado face pack can improve skin health and reduce dryness. Mash half an avocado, add 1 tablespoon olive oil and 1 tablespoon milk. Mix well and apply the mask to face and neck. Wait 20 minutes before washing it off with lukewarm water. Do this two to three times a week.
7. Apply hyaluronic acid serum
You can also keep your skin hydrated, plump and glowing with a hyaluronic acid serum. Dry skin tends to look aged faster, especially because the sebum glands don’t produce enough oils to keep your skin wrinkle-free and plump. Hyaluronic acid is known for its ability to retain water (8). You can use it (with or without glycerin) during the day before applying moisturizer, sunscreen and makeup.
Hyaluronic acid serums can work wonders for dry skin. A recent study published in the Journal of Cosmetic Dermatology showed an increase in overall skin hydration after using hyaluronic acid formulations for both short- and long-term use. Here’s a glimpse of how the formulation effectively increased water levels in facial skin tissue.
Hyaluronic acid increases skin moisture
clean skin
post application
baseline
week 2
week 4
week 8
72
74
76
78
80
82
84
86
Effect of the formulation over 8 weeks
Percentage of skin moisture
Effectiveness of the formulation over 8 weeks: Clean skin after use
Baseline 72.053 76.505
Week 2 73,063 75,874
Week 4 78,874 84,021
Week 8 81,526 85,537
Source: Multicenter evaluation of a topical hyaluronic acid serum
8. Avoid using anti-aging products
Anti-aging products are an absolute taboo for dry skin. However, if you use any, make sure they are free of retinoids or AHAs, as these can irritate dry skin (9), (10).
9. Regular exfoliation
Dry and peeling skin can feel itchy as well as irritating. An easy way to get rid of flaky skin is to exfoliate. Use a gentle exfoliant or chemical peels like mandelic acid to remove the top layers of dead and dry skin and cracked skin. Here are some good dry skin exfoliants to try.
10. Add oils to your bath
Do you like to soak your tired body in a lukewarm water bath with bath salts? Then consider adding your favorite body oil to your bath next time. This way your skin stays moisturized and nourished. Also, you can remove dead skin and rough skin much more easily.
11. Protect your skin from the sun
Exposing dry skin to the sun can make the problem worse. The sun’s harmful UV rays accelerate skin aging and lead to the premature appearance of wrinkles and fine lines (11). To protect your skin, apply an SPF 50 sunscreen to your exposed skin before heading out. Wear a scarf, wide-brimmed hat, hat, and sunglasses to protect your face.

12. Apply lip balm
Dry skin isn’t just limited to the cheeks, nose or forehead. Your lips can also become dry and cracked. Take care of your lips by applying a moisturizing lip balm or lip oil. You can also apply a mixture of honey and coconut oil daily as a lip mask to treat dry lips.
13. Use oil-based makeup
Water-based makeup is not suitable for dry skin. It may contain ingredients like dimethicone that could further dry out your skin. Use makeup from foundations and eyeshadows, as well as cream or oil-based blushes and lipsticks. Dry skin can always use the extra moisture these makeup products contain. The right make-up products also prevent dry patches or dandruff. Such products give your skin a healthy glow and a dewy finish.
14. Stay hydrated
You need to stay hydrated, especially if you have dry skin. Drink 8 glasses of water a day (or more if you exercise or live in hot climates). Consume watermelons, oranges, cantaloupes, celery, cucumbers and tomatoes to provide your body with the right nutrients and antioxidants that protect and nourish your skin.
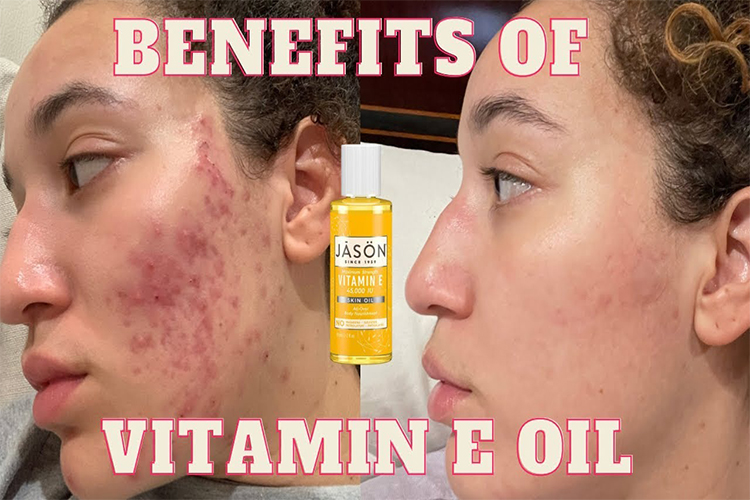
15. Take omega-3 fatty acids and vitamin E
Omega-3 fatty acids and vitamin E supplements are rich in anti-inflammatory and antioxidant properties (7), (12). These supplements can help reduce skin inflammation and oxidative stress in the body, thereby reducing skin dryness as well (13), (14). Talk to your doctor to determine dosage and frequency.
In summary, dry skin needs special care and attention to keep it hydrated and healthy. By following these top 15 tips and DIY methods, you can effectively combat dryness, relieve irritation, and achieve softer, more radiant skin. Remember to use gentle, nourishing products, avoid harsh chemicals, and protect your skin from environmental elements like the sun. Additionally, maintaining proper hydration and incorporating beneficial dietary supplements can further improve your skin’s moisture levels. With consistent care and the right approach, you can look forward to healthy, hydrated and glowing skin all year round.