Monistat for Hair Growth: Does it Really Work?
If you’ve ever crushed an aspirin for acne relief, or squeezed dry an Evioni capsule and applied it to your face and scalp, we’ve got what you need! The new trend in town is using Monistat for hair growth.
Monistat-7 is the latest OTC drug to be used unconventionally. While this antifungal is commonly used to treat yeast infections, beauty vloggers claim it can promote hair growth and maintain scalp health. Read on and check if these incredible claims are true.
What is Monistat?
Miconazole nitrate, sold under the brand name Monistat 7, is an antifungal cream used to treat vaginal yeast infections. The suffix 7 indicates the duration of the course. According to the brand’s website, CDC recommends this 7-day treatment for pregnant women and diabetics. However, it should only be used after consulting a doctor (1).
Monistat-7 is also used to treat ringworm, itching, athlete’s foot and oral thrush in babies.
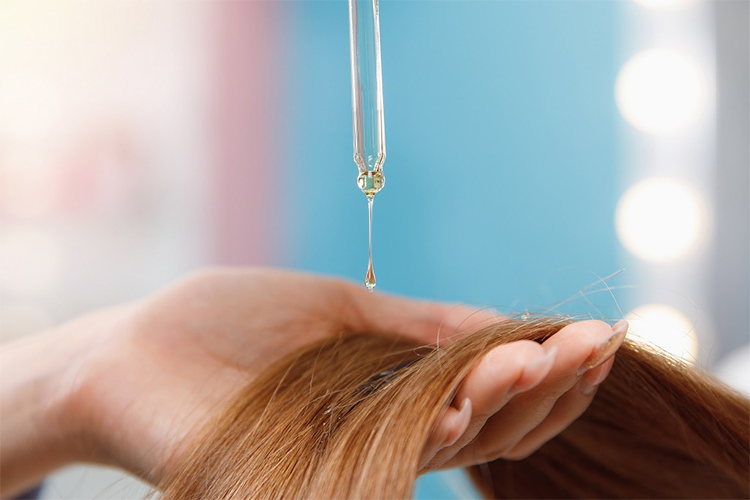
Recently, people have been using Monistat for hair growth as well. Some hair care enthusiasts have considered it as a hair restorer and used it as a hair product. Does It Really Promote Hair Growth? Let’s find out the truth.
Does Monistat promote hair growth?
There is no scientific research that proves that Monistat promotes hair growth. The claims are based on anecdotal evidence. Although Monistat is not specifically designed for hair treatment or hair restoration, its antifungal properties may help improve the scalp.
Monistat contains miconazole nitrate, which prevents infections caused by yeast and gram-positive bacteria (2).
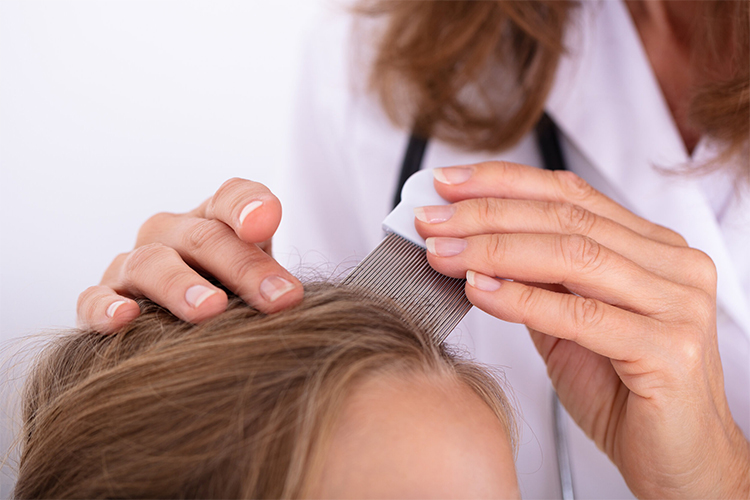
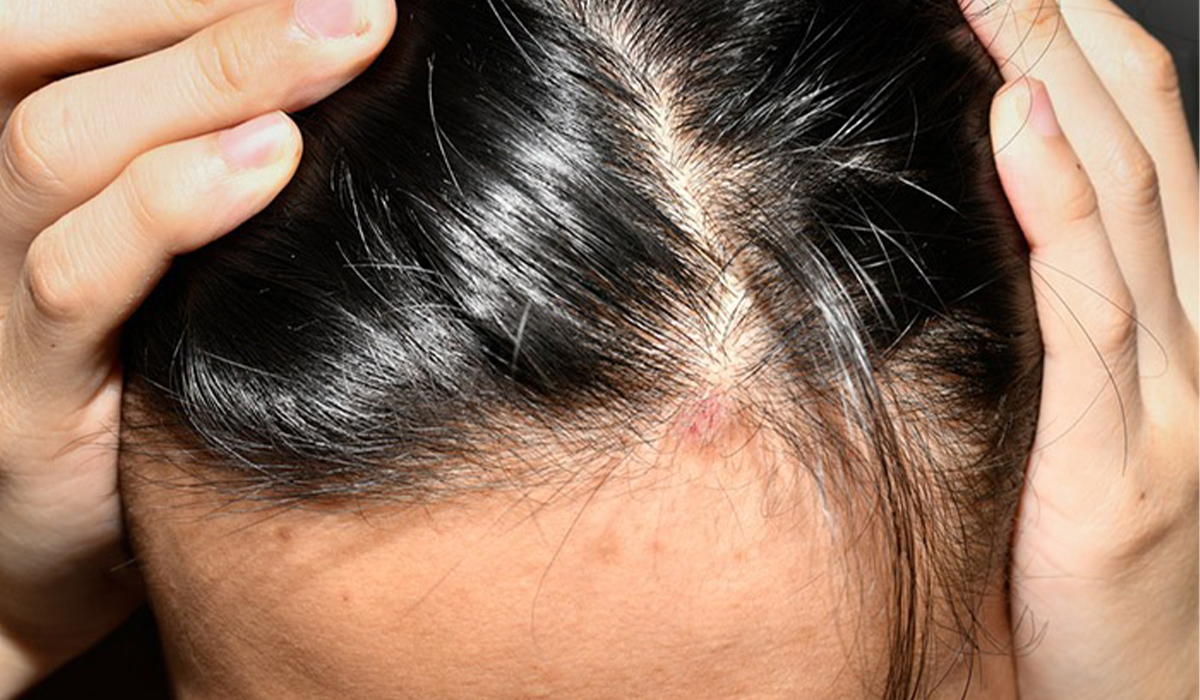
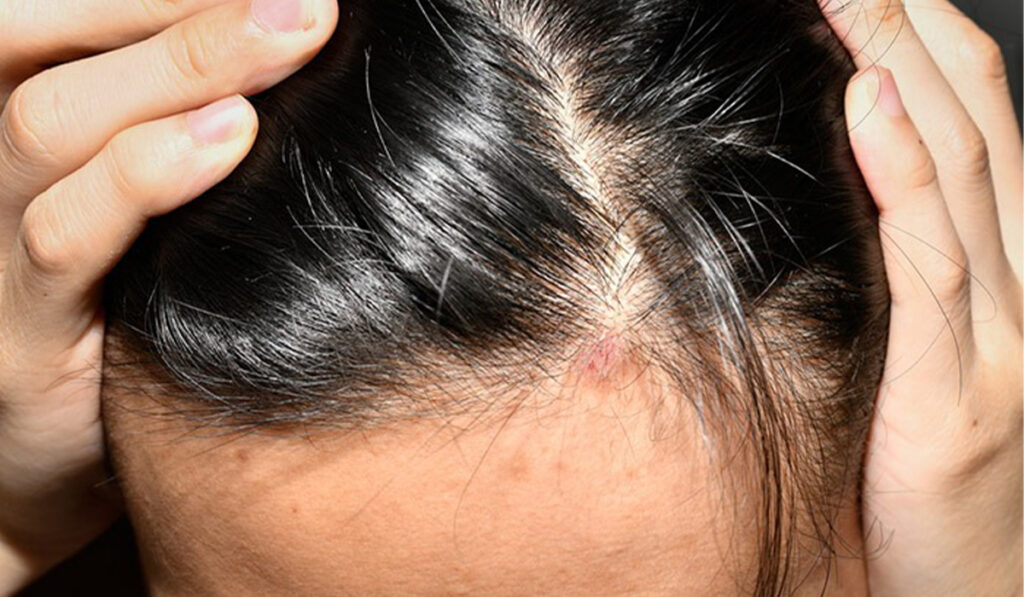
A fungal infection of the scalp causes inflammation, itching, and redness that can damage hair follicles and trigger hair loss. Doctors typically prescribe ketoconazole to treat fungal infections of the scalp. Miconazole nitrate is similar in structure and moderately effective in treating topical fungal infections as ketoconazole (3). Once the scalp inflammation is gone and the scalp is healthy, hair growth will resume.
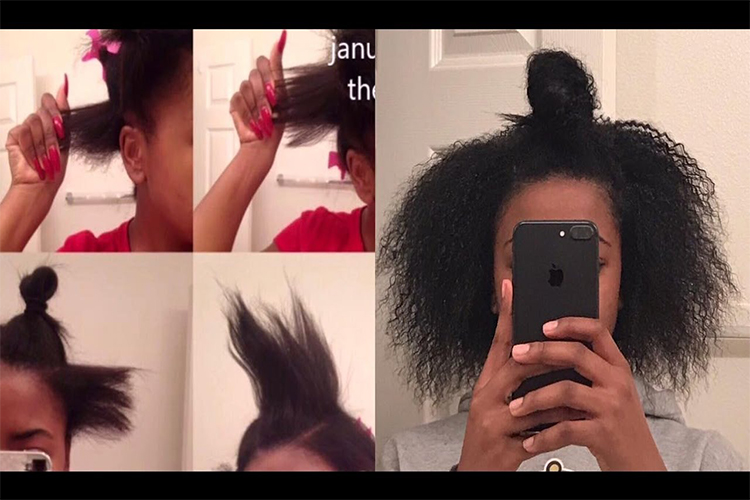
This is one of the reasons many people found Monistat-7 beneficial for promoting hair growth. In other words, Monistat-7 can help manage the type of hair loss that is caused by scalp infections and not for any other reason. Anecdotal evidence suggests that monistat, when applied topically to the scalp, can stimulate hair regrowth, combat hair loss, and improve overall hair care.
However, the truth that Monistat-7 is not a proven drug to promote hair growth remains unchanged. Therefore, it is advisable to consult a doctor before incorporating Monistat or any other hair vitamin, hair supplement, hair growth product or hair restorer into your hair care routine. If you want to try it, follow the methods below. Do a patch test to avoid side effects.

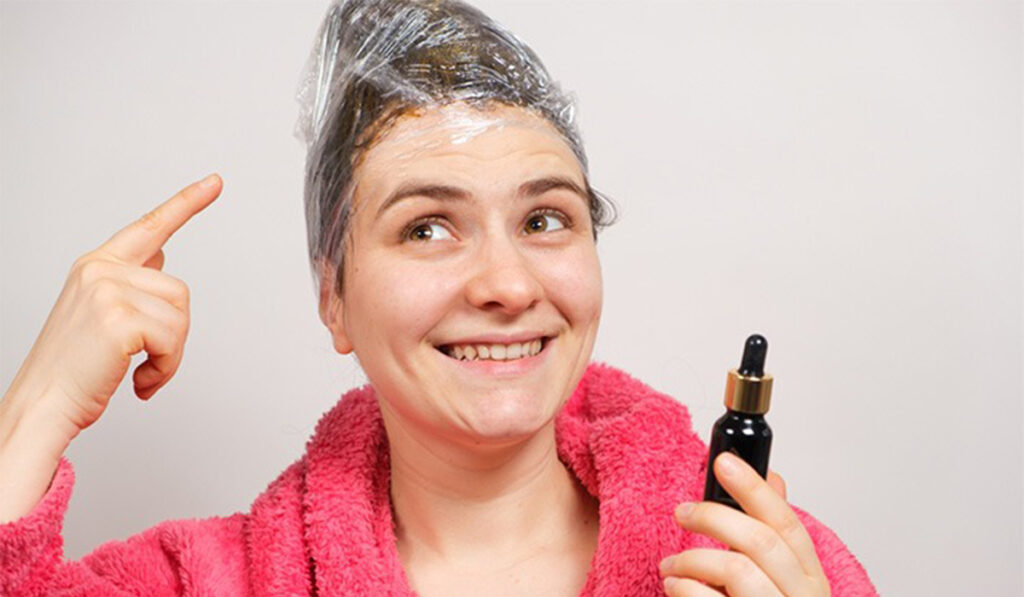
How to use Monistat for hair growth
It is better to consult a dermatologist before using Monistat and follow their instructions. You can also follow the manufacturer’s instructions for applying Monistat to your scalp and hair. When using, ensure the following:
Wear latex gloves and protect your hands
Do not leave it on the hair and scalp for more than 15 minutes or as recommended by your doctor.
Don’t leave it overnight.
Wash it off completely from hair and scalp.
Monistat-7 is generally considered a safe drug for topical use. However, side effects can occur with off-label use.
Side effects of using Monistat-7 for hair growth
Using Monistat-7 on the scalp can cause:
itching
skin irritation
burning sensation
swelling
redness
Pimple-like bumps
flaking
tenderness
The safety guide published on the manufacturer’s website also warns against unregulated use of Monistat-7. The guide states that Monistat-7 “is for vaginal use only (4).” Any other use should be supervised by healthcare professionals.

Infographic: How to use Monistat 7 for hair
While not scientifically proven, some anecdotal evidence suggests that Monistat 7 may improve scalp health and promote healthy hair growth. However, caution should always be exercised when using a medical device for a purpose for which it was not originally designed. In the infographic below, we have outlined the main things that you need to be aware of when using this medicine for your hair. Look at her
In summary, using Monistat-7 for hair growth is a trend based on anecdotal evidence and there is no scientific research to support its effectiveness in promoting hair growth. Although Monistat-7 has antifungal properties that can improve scalp health and potentially help with hair loss due to scalp infections, it is not specifically designed for hair treatment or restoration.
If you are considering using Monistat-7 for hair growth, it is important to consult a dermatologist beforehand to ensure safe use and to check for possible side effects. Off-label use of Monistat-7 on the scalp can cause itching, skin irritation, burning, swelling, redness, pimple-like bumps, flaking, and sensitivity.
While some individuals experience positive results with Monistat-7, it’s important to exercise caution and seek professional advice before incorporating it into your hair care routine. Hair growth and scalp health can be affected by a variety of factors. It’s best to explore evidence-based treatments and practices to promote hair growth and maintain scalp health.