Dresses for petite women - great outfit ideas
Fashion is subject to significant changes from time to time. These days it’s all about being who we are (it should have always been). Thanks to some of these positive changes in society, there are now endless options for choosing dresses for petite women. Because body type varies from person to person, finding the right style for your look is important. Regardless of your body type, you can easily flaunt your look with some great and practical tips and outfit ideas for women. So today in this article we want to bring you some really worthwhile fashion tips, clothing ideas, dos and don’ts that can help you look stunning effortlessly. The idea is to work with the body type you are born with. So if you plan on stealing the show wherever you go, stay confident and keep reading this article to learn how to achieve your desired look.
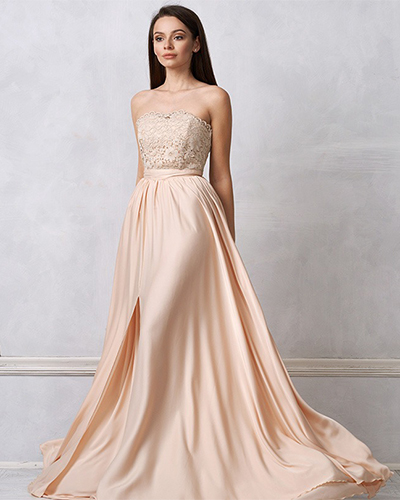
1. Wedding Dresses
Big days should be the best in every way. Just show off your assets and do it with all the confidence you have. Accentuate your figure with off-the-shoulder dresses and choose these over sweetheart necklines as they create the illusion of a wider canvas. Sheer necklines that taper down and become backless work to your advantage. Another choice are dresses with noodle straps or halterneck dresses, which are open and lightweight at the top, fitted at the top and billowing towards the bottom. Avoid dresses with high necklines, long sleeves, and a down train as you’re likely to get lost in so much fabric.
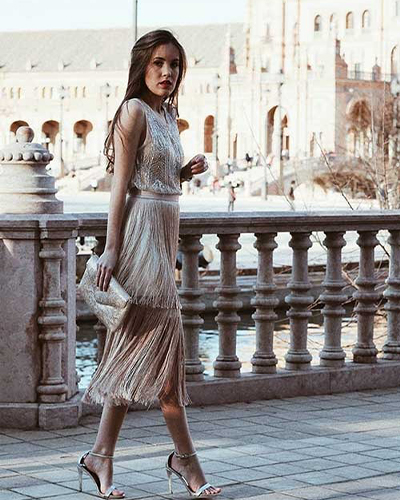
2. Maxi dresses for small women
Opt for maxi dresses with some definition over straight cuts. Asymmetric hems, cap or floral sleeves, ruffled bodice, etc. are great. Dresses made of lighter fabrics such as organza, georgette, etc. work well. Complement your outfit with chunky accessories, but make sure they’re not overly elaborate.
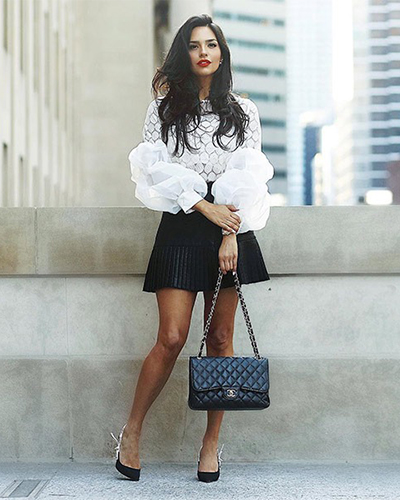
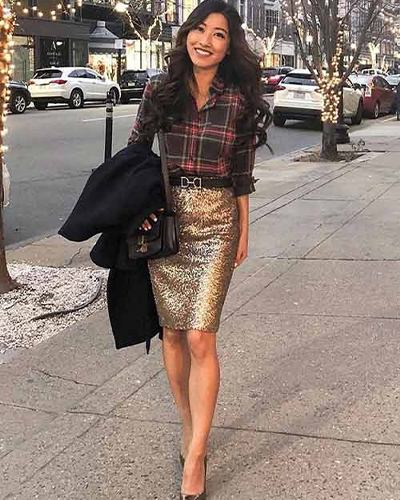
3. Sequin Skirt and Tucked-in Shirt
Pencil skirts suit your body type and blend in perfectly, but you need to style the outfit with something that doesn’t make you even smaller. Ditch tank tops or tube tops and swap them out for a plaid or chambrayi shirt with just the right amount of volume. Roll up your sleeves. This makes the shirt even tighter so you don’t get swallowed up by the material. Tuck it in and slip on pointy heels – it’s the most obvious way to look taller.
4. Overalls
Swapping out your playsuits for a jumpsuit can make a huge difference in height. Ties are even better than buttoned ones. Wearing cap sleeves instead of sleeveless is another trick to open up the body a bit. Focus on the length of the pants. For a petite woman, a narrow ankle style always looks best. If you want a wider leg, make sure it’s cropped.
5. Trouser suits for small women
Think outside the box a little and upgrade your fashion by opting for slightly flared formal pants instead of pencil cuts. For a completely formal look, pair it with a well-fitting shirt or bodysuits and a blazer with a flared hem to accentuate it a bit. Or opt for a linen blazer, pants and tops that don’t cling to your body and give you enough structure.
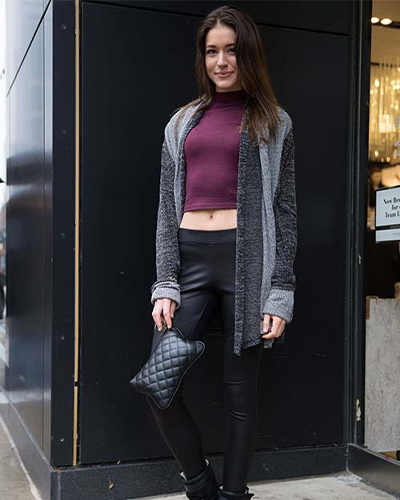
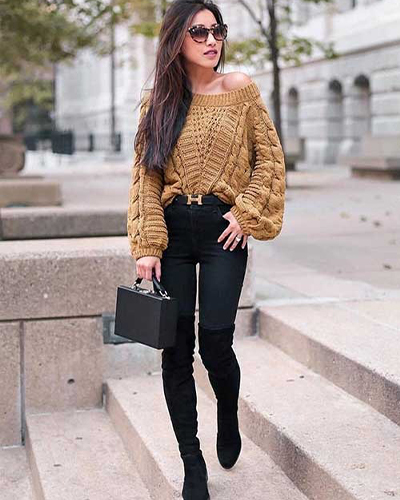
6. Oversized sweater and jeans
Nobody looks as cute as a petite woman in an oversized sweater and jeggings, skinny denim, or leggings. When you can get your hands on sweaters with built-in collars, off-the-shoulder models, etc., it only gets better.
Salinger has expert advice: “Be sure to tuck an oversized sweater on top of your jeans to show off your waist and flatter your figure.” For longer tunic-style sweaters, pair it with skinny jeans or leggings. You need to balance the oversized character of the sweater with a fitted bottom half.”
7. One-piece dress
Sweater, t-shirt or denim dresses can look uber chic. However, try adding layers to your dress. In winter, add a kimono or bolero, sweater or coat, etc. Choose a layer that is either the length of your dress or longer to spice it up a bit, but of course not over it.
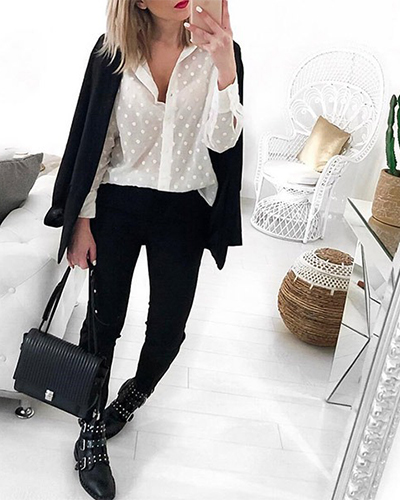
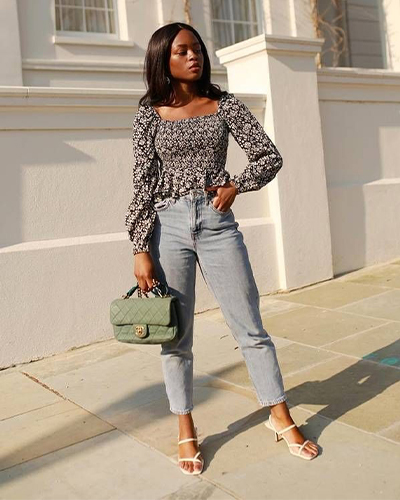
8. Jeans for petite women
Boyfriend/mommy jeans, distressed denim, etc. add a filter to your outfit. Choose an ankle-length style. They stretch your lower body and make it appear longer. Tops with ruffles, puff sleeves, off-the-shoulder or cold shoulders, etc. spice them up for you.
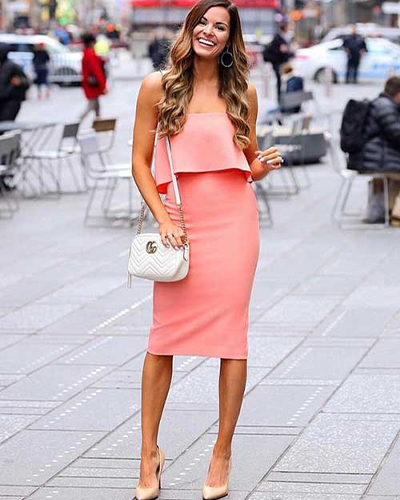
9. Formal wear
The rule remains largely the same: if you’re a fan of form-fitting, formal dresses, go ahead. But adding a blazer might be a good idea. Or, if you prefer ankle-length pants, opt for slightly edgier formal tops like a silk top instead of satin. The idea is to do everything you can to not look too tiny and lost in your clothes.
10. Black t-shirt dress with kimono or jacket
Many people assume that t-shirt dresses are for smaller body types, but because of your straight body type, it can look pretty boring. Accessorize your outfit with some accessories or anything else that complements the dress and give your outfit that extra edge.
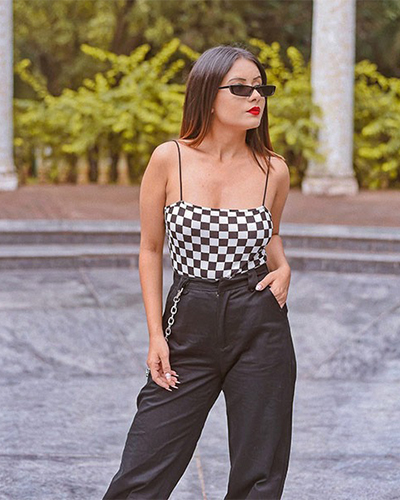
11. Baggy pants and ruffled tops
If you’re going to a night out or a cocktail party, ditch your regular little black dresses and swap them for crop tops and baggy pants, palazzo pantsuits, etc. that make your legs look longer. Make sure the center of your outfit has a fitted effect. Either tuck in your shirt or choose a crop top that hits your waist. Remember to always wear heels or wedges with this outfit.
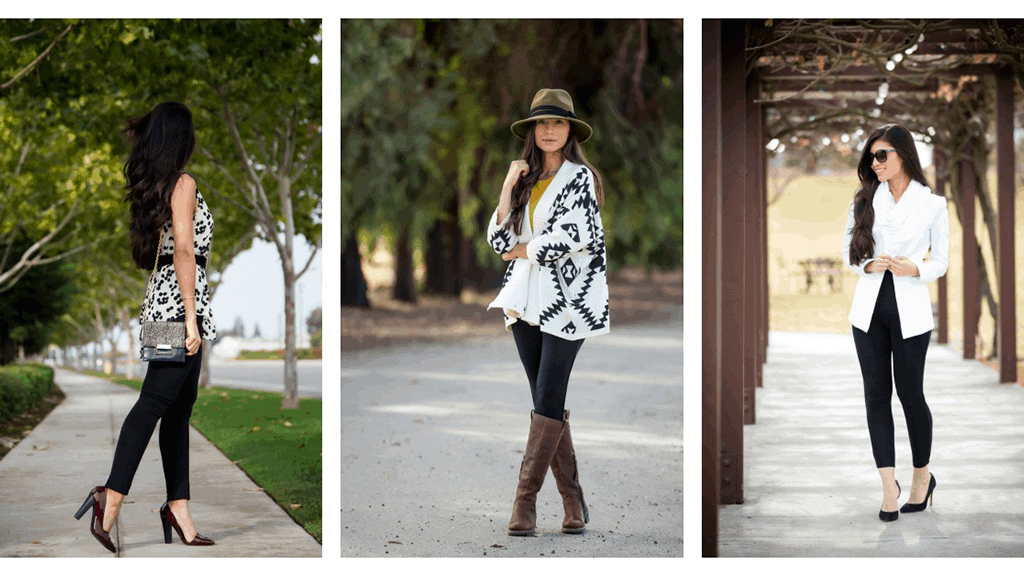
12. V-neck top and ankle length boots
V-necks or plunging necklines elongate your top and elongate your torso. Wearing them with ankle length boots instead of your regular heels can make the outfit look quite trendy and interesting.
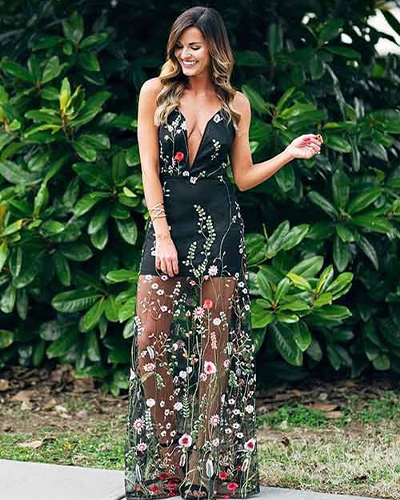
13. Short floral dress and boots
Keep your short dresses above the knee, anything below can look fun. Classic and elegant dresses are always a safe bet, but don’t be afraid to experiment with edgier styles.
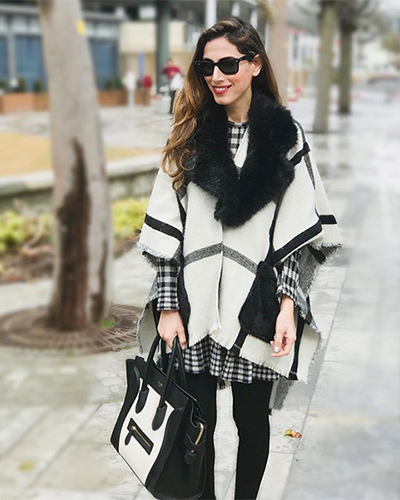
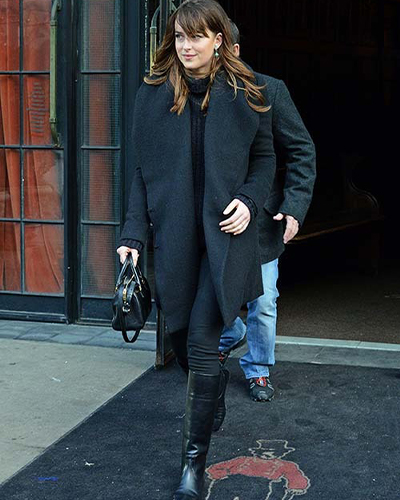
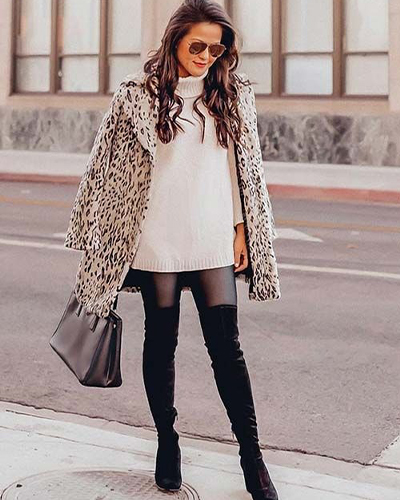
14. Long winter coat
If you like wearing skinny jeans and well-fitting tops, do that, but in winter add some fun layers (like a statement coat) to match your boots.
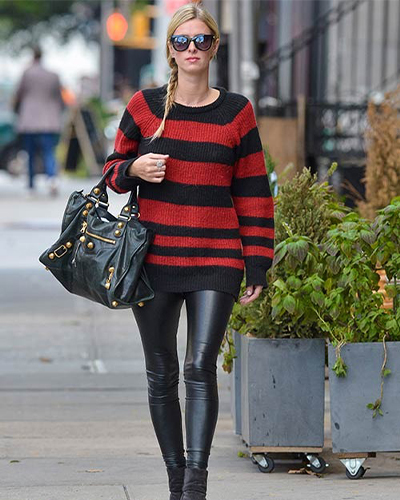
15. Striped shirt and scarf
We women tend to avoid horizontally striped dresses or tops because they tend to make us look plumper than we are. But if you are petite, it will help you. For dresses, choose vertical and thinner stripes. Thicker stripes will overwhelm a petite figure.
In summary, dressing up as a petite woman doesn’t have to be a challenge. With the right fashion tips and outfit ideas, you can confidently adapt to your unique body type and create stunning looks for any occasion.
When choosing your wedding dress, opt for off-the-shoulder models, transparent necklines or noodle straps to emphasize your figure. Maxi dresses with some definition and lighter fabrics are great choices for petite women. Sequin skirts with tucked-in shirts, jumpsuits, and pant suits with flared pants can elongate your body and create a taller appearance.
Experiment with oversized sweaters and jeans, one-piece dresses with added layers, and ankle-length jeans with ruffled tops. Wear blazers for formal wear or opt for ankle-length pants with fancier tops. Team t-shirt dresses with accessories, baggy trousers with ruffle tops and V-neck tops with ankle boots.